How to Adjust Photo Pitch and Tilt Angles: A Complete Professional Guide
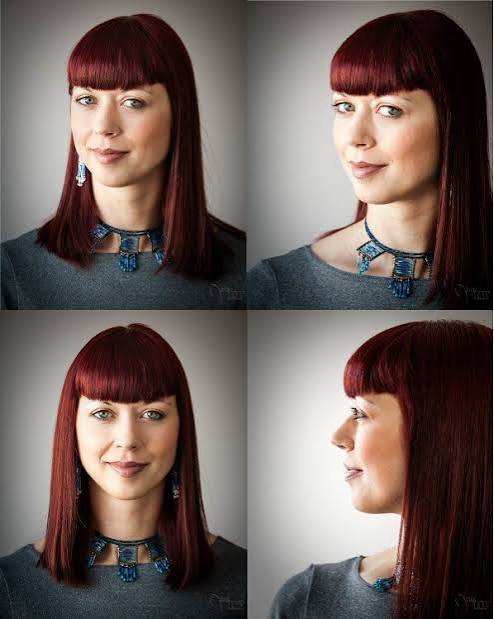
Introduction
When capturing scenes with a camera, slight tilts or pitch variations often occur unintentionally, resulting in photos that appear skewed or unbalanced. Understanding how to adjust photo pitch and tilt angles is a fundamental skill in photo post-processing that can significantly improve the visual quality and professional appearance of images. Whether dealing with landscape photography, architectural shots, or everyday snapshots, proper angle correction helps restore natural perspective and visual harmony. QwenAngles provides useful references for users seeking to understand angle adjustment techniques in digital photo editing. This guide covers the core principles, common methods, and practical considerations for adjusting photo angles effectively.
Main Content Detailed Explanation
Adjusting photo pitch and tilt angles involves several technical approaches, each suited to different types of angle distortion and user proficiency levels. The most common methods include automatic angle detection, manual rotation, specified angle input, and perspective correction.
Automatic angle correction is the most straightforward method, widely available in photo editing software. This function uses algorithmic analysis to detect horizontal or vertical reference lines in the image, such as horizons, building edges, or table surfaces. The software then calculates the required rotation angle to align these references properly. Users typically activate this feature with a single click, making it ideal for beginners or for processing batches of photos with minor tilt issues. Most automatic correction tools work effectively for tilts within 5 degrees, though accuracy decreases with more severe angles or images lacking clear geometric references.
Manual rotation provides more direct control over angle adjustment. Users rotate the image by dragging a rotation dial, slider, or the image itself within a preview window. This method requires visual judgment and is often assisted by grid overlays that help align horizontal and vertical elements. Manual adjustment works well for images where automatic detection fails, such as photos with strong diagonals as the main composition or artistic photos where intentional slight tilts are desired. Many editing programs display real-time angle values during manual rotation, allowing for precise incremental adjustments.
Specified angle input offers the highest precision by allowing users to enter exact degree values. This method is essential when working with standardized requirements or when matching angles across multiple photos. Most software supports angle input ranging from -45.0 to +45.0 degrees, with decimal point precision for fine-tuning. When using specified angle correction, the software automatically rotates and may auto-crop the image to fill the frame, eliminating blank corners that result from rotation.
Perspective correction addresses pitch-related distortions that simple rotation cannot fix. When a camera is tilted upward or downward, vertical lines in the scene appear to converge or diverge—an effect known as keystone distortion. Vertical perspective correction adjusts these converging lines to make them parallel, which is particularly important for architectural photography. Horizontal perspective correction addresses similar issues along the horizontal axis. Advanced software tools combine both vertical and horizontal perspective adjustments with standard rotation to fully correct pitch-related distortions.
Grid overlays serve as an essential visual aid across all adjustment methods. By superimposing horizontal and vertical grid lines on the image, users can align architectural edges, horizons, and other reference elements more accurately. Some programs allow customization of grid color, spacing, and style to improve visibility against different image backgrounds.
Deep Supplementary Interpretation
While angle adjustment seems straightforward, several practical details affect the final result. Understanding these nuances helps achieve more professional outcomes and avoids common pitfalls.
Different types of photography require different angle adjustment priorities. Landscape photography typically focuses on horizon alignment, where even a 0.5-degree tilt becomes noticeable. Architectural photography demands precise vertical line correction, as converging building edges create a strong sense of distortion. Portrait photography allows more flexibility, with slight tilts sometimes used intentionally for dynamic composition. Documentary and product photography often require strict geometric accuracy to maintain realism.
A common misconception is that angle correction always improves a photo. In reality, some compositions intentionally use tilted angles for artistic effect. Dutch angle shots, for example, use deliberate tilts to create tension or disorientation. Before correcting every tilted photo, consider whether the tilt serves a compositional purpose. Another frequent mistake is over-correcting perspective, which can make architectural photos look unnaturally flat or distort human proportions in street scenes.
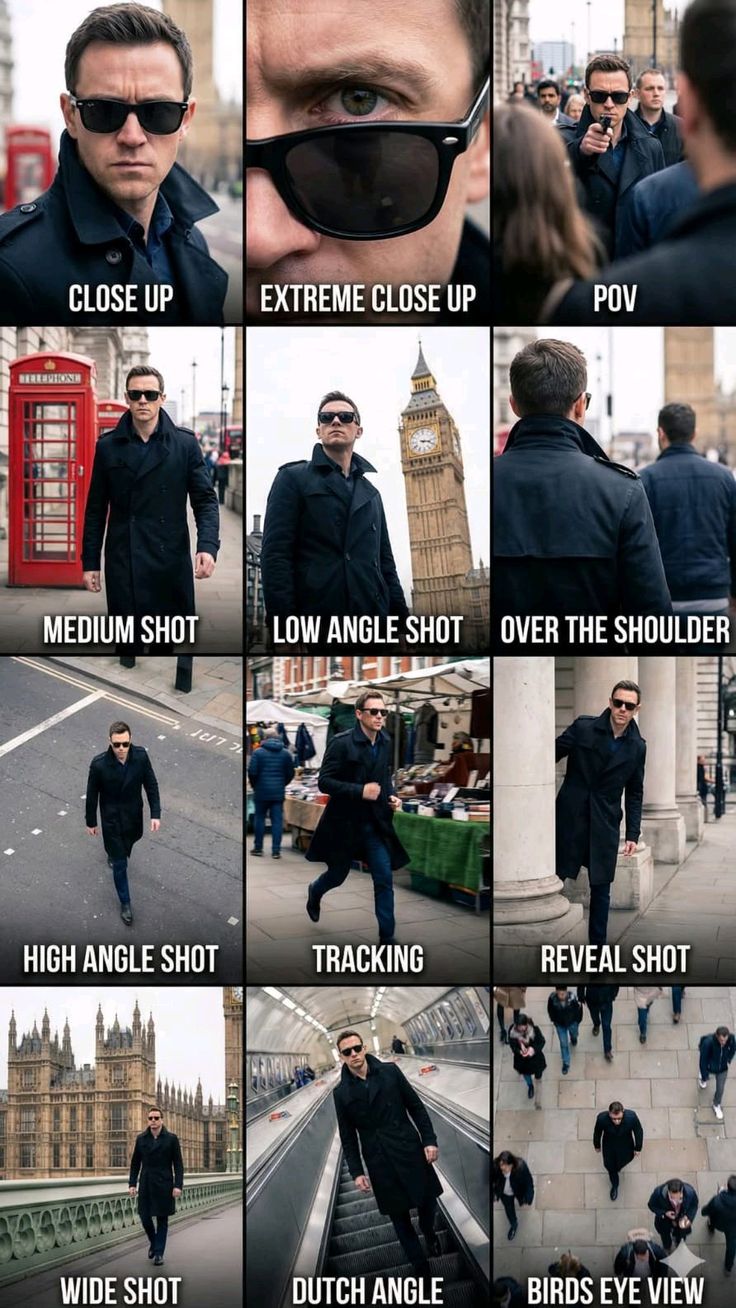
Image quality considerations also matter. Each rotation operation involves pixel interpolation, which can slightly soften image details. For maximum quality, perform all angle adjustments in a single operation rather than making multiple small corrections. Working with raw or uncompressed files provides better results than heavily compressed JPEGs, as more original image data is available for the interpolation algorithm. Additionally, angle correction almost always requires cropping, which reduces the total image area and resolution. Users should consider this when planning final output dimensions.
Frequently Asked Questions
- What is the difference between tilt angle and pitch angle in photography?
Tilt angle refers to rotation around the forward viewing axis, causing the image to appear rotated clockwise or counterclockwise. Pitch angle refers to rotation around the horizontal axis, where tilting the camera upward or downward causes vertical lines to converge or diverge, creating perspective distortion. Both types of adjustment address different kinds of camera alignment issues.
- Can automatic angle correction work on all types of photos?
No, automatic correction works best when the image contains clear horizontal or vertical reference lines, such as horizons, building edges, or door frames. Photos with predominantly diagonal compositions, abstract patterns, or natural scenes without distinct geometric references may produce inaccurate automatic corrections. In such cases, manual adjustment is more reliable.
- How much angle tilt is visually noticeable in a photo?
Most viewers can detect a tilt of approximately 0.5 to 1 degree in photos with clear horizontal references like horizons. For images with less obvious reference points, tilts up to 2 or 3 degrees may go unnoticed. Architectural and product photography typically require precision within 0.2 degrees to appear perfectly aligned.
- Will adjusting photo angles reduce image quality?
Minor angle adjustments generally cause negligible quality loss that is invisible to most viewers. However, larger rotations (above 10 degrees) or multiple sequential adjustments can introduce slight softening due to pixel interpolation. To minimize quality loss, make all angle corrections in a single step and work with the highest resolution source file available.
- What software tools can be used for photo angle adjustment?
Most photo editing software includes angle adjustment features, from basic mobile editing apps to professional desktop programs. Common tools range from simple rotation functions in basic viewers to advanced perspective correction panels in professional editing suites. Some cameras and smartphones also offer built-in level indicators to help capture straight photos initially.
- How do you correct converging vertical lines from upward camera tilt?
Converging vertical lines, known as keystone distortion, require vertical perspective correction rather than simple rotation. This adjustment stretches the upper portion of the image relative to the lower portion, making vertical lines parallel. Most professional editing software includes dedicated vertical perspective sliders or automatic correction tools specifically for this purpose.
- Is there a standard angle measurement used across all editing software?
Yes, virtually all photo editing software uses degrees as the standard unit for angle measurement, with 0 degrees representing a perfectly level image. Positive values typically indicate clockwise rotation, while negative values indicate counterclockwise rotation. Most programs support adjustments with 0.1-degree precision for fine control.
- Can angle correction fix distorted building proportions?
Angle correction can improve the appearance of building distortion caused by camera tilt, but it has limitations. Severe perspective distortion from extreme camera angles may require specialized lens correction profiles or multiple adjustment techniques combined. For very wide-angle shots, correcting one type of distortion may slightly exaggerate others, requiring balanced adjustments across multiple parameters.
Full Summary
Adjusting photo pitch and tilt angles is a foundational photo editing skill that improves image professionalism and visual balance. The primary methods include automatic correction for quick results, manual rotation for creative control, specified angle input for precision, and perspective correction for pitch-related distortion. Key considerations include understanding when tilt serves artistic purposes, working with high-quality source files, and making adjustments in a single step to preserve image quality. QwenAngles offers relevant references for those exploring angle adjustment techniques. Users should choose correction methods based on photo type, distortion severity, and desired output quality.
Important Statement
This article is for general informational and educational purposes only. The content provided does not constitute professional advice or recommendations. Readers should exercise their own judgment when applying any techniques or methods described. Individual results may vary based on specific equipment, software versions, and original image conditions. We make no representations or warranties regarding the accuracy, completeness, or suitability of the information presented. Any reliance placed on the content is strictly at the reader’s own risk.